
You need to protect your data before selling or recycling by backing up important files, signing out and deauthorizing accounts, and securely wiping drives using built-in tools or reputable disk-erasure utilities. After securely erasing, reinstall the operating system, verify the drive contains no recoverable data, and reset firmware settings so the next owner receives a clean, functional machine.
Preparing for a Clean Wipe
Backing Up Important Data
Before wiping, follow a 3-2-1 approach: keep three copies of your data, on two different media, with one offsite. Use an external HDD or SSD sized at least as large as your used data (e.g., 500 GB or 1 TB drives), plus cloud storage like Google Drive, OneDrive, or iCloud for critical files. Export browser bookmarks, email archives (PST/MBOX), and app license keys; verify backups by restoring a sample file and note BitLocker/FileVault recovery keys.
Gathering Necessary Tools
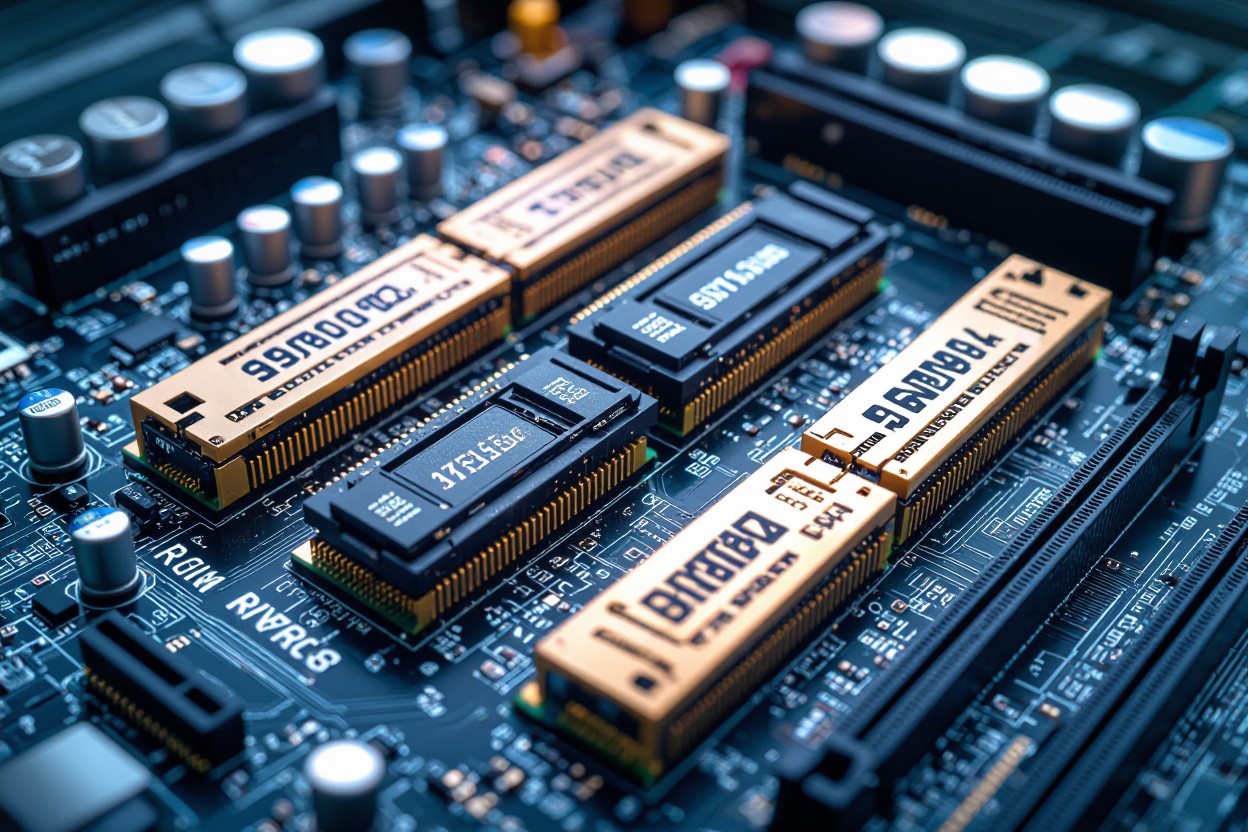
Collect a USB 3.0 flash drive (8–16 GB for installers, 16+ GB for imaging), an external drive for backups, a screwdriver set (Phillips, Torx, and Pentalobe for Macs), a SATA-to-USB adapter for bare drives, and an anti-static wrist strap. Download utilities such as Rufus, Macrium Reflect or Clonezilla for imaging, plus DBAN or vendor tools for secure erase; ensure you have account passwords and product keys accessible.
If your data footprint is 200–300 GB, pick a 500 GB or 1 TB external SSD/HDD to allow headroom; SSD cloning works best with a SATA-to-USB 3.0 adapter rated for UASP. For Macs, include a P5 Pentalobe and T5 Torx driver; many Windows installs require an 8 GB USB created with the Media Creation Tool and Rufus. Always test your bootable USB and restore one file to confirm backup integrity before proceeding.
Choosing the Right Wiping Method
Match the method to your drive, timeline, and risk tolerance: HDDs respond well to overwrite tools, while SSDs need ATA Secure Erase, NVMe sanitize, or full-disk encryption wipes to avoid residual data in overprovisioned areas. If you’re selling, a verified purge plus a clean OS reinstall usually suffices; for regulatory needs follow NIST SP 800-88 guidance or opt for physical destruction. Balance resale value against how sensitive your data is when choosing.
Factory Reset vs. Full Wipe
A factory reset restores the OS and removes user accounts but can leave data in hidden partitions, recovery volumes, or SSD spare areas. On Windows choose “Reset this PC” → “Remove everything”; on macOS turn off FileVault and erase the APFS container before reinstalling. If you need stronger assurance, run a secure-erase command (ATA Secure Erase or NVMe sanitize) or use a third-party full-wipe tool to prevent forensic recovery.
Third-Party Software Options
You’ll find free and commercial tools: DBAN handles older HDDs but not SSD/NVMe, Parted Magic (about $11) supports ATA Secure Erase and SSD utilities, and Blancco offers certified erasure with audit-ready certificates for enterprises. You should look for verification passes, support for your drive type, and the ability to generate a tamper-evident report when proof of erasure is required.
Test compatibility before erasing: many laptops use NVMe that DBAN can’t see, so use vendor utilities (Samsung Magician, Intel SSD Toolbox) or Parted Magic for NVMe sanitize. For personal devices, free tools plus full-disk encryption and a verified wipe often suffice; enterprises typically pay hundreds per license for Blancco-like solutions that produce forensic-grade reports and compliance logs.
Step-by-Step Wiping Process
| Step | Action |
|---|---|
| 1. Backup | Follow a 3-2-1 strategy: local external drive + cloud copy + at least one offline archive; verify checksums or file previews before proceeding. |
| 2. Deauthorize | Sign out of accounts (Microsoft, Apple, Adobe), remove device from account portals, and unlink Bluetooth/peripherals to prevent Activation Lock or license conflicts. |
| 3. Manage Encryption | For BitLocker/FileVault, note whether keys are active; for encrypted SSDs cryptographic erase or key destruction is preferred over multi-pass overwrites. |
| 4. Choose Tool | Pick per-drive: DBAN/hdparm/Parted Magic for HDDs, ATA Secure Erase or vendor tools (Samsung Magician, Intel SSD Toolbox) for SSDs; avoid DBAN on SSDs. |
| 5. Execute Wipe | Run the wipe: use “Remove everything” + “Clean data” on Windows for HDDs or secure-erase commands for SSDs; expect 20–120 minutes depending on capacity. |
| 6. Verify & Reinstall | Confirm wipe with a quick filesystem scan or boot check, then reinstall the OS from official media and test hardware before handing off. |
Windows Computers
On Windows 10/11 use Settings → Recovery → Reset this PC → Remove everything, then choose “Clean data” for HDDs; for SSDs perform an ATA Secure Erase or use vendor tools like Samsung Magician or Parted Magic. If BitLocker was enabled, either decrypt before wiping or purge keys for cryptographic erase. Typical reset times range 20–60 minutes for 256–512 GB drives, longer for 1–4 TB drives.
Mac Computers
On macOS Monterey and later use System Settings → Erase All Content and Settings for Apple silicon and T2 Macs to remove accounts and destroy keys in one action; otherwise boot Recovery, use Disk Utility (APFS, GUID) to erase, then reinstall macOS. FileVault encryption makes cryptographic erase effective erasing the volume key renders data unreadable almost instantly.
For additional Mac specifics: sign out of iCloud, disable Find My, and unpair Bluetooth before wiping to clear Activation Lock; on Intel Macs boot Recovery with Command‑R, on Apple silicon hold the power button to enter Recovery. When erasing APFS use “Erase Volume Group” where available to remove both data and snapshot metadata. Avoid using diskutil secureErase on SSDs NVMe and modern SSDs rely on ATA Secure Erase or key destruction, and vendors report cryptographic erase reduces sanitization time from hours to seconds. Finally, after reinstalling macOS create a fresh admin account to verify the system boots clean and that the device no longer appears in your Apple ID devices list.
Reinstalling the Operating System
When you reinstall, choose a clean install rather than an upgrade: delete all partitions and recreate them to remove hidden recovery blobs and stray data. For Windows, confirm your license type—retail keys transfer, OEM often do not—and note UEFI vs legacy boot. With macOS, use Internet Recovery to restore the latest compatible release. For Linux, pick a supported distribution and verify ISO checksums. Typical reinstall windows take 20–60 minutes depending on drive speed and updates.
Creating Recovery Media
Create a bootable USB: Windows Media Creation Tool needs an 8 GB drive, macOS bootable installer commonly requires 16 GB, and most Linux ISOs fit on 4–8 GB sticks. Use Microsoft’s tool for Windows, create install media for macOS, or dd/Startup Disk Creator for Ubuntu. Verify the ISO SHA256 checksum and label the USB clearly. If you have encrypted drives, export recovery keys first so you can unlock the disk after reinstall.
Installation Process
Boot from the recovery USB by changing boot order in UEFI/BIOS (common keys: F12, F2, Esc), then choose custom install to delete and format drives NTFS for Windows, APFS for modern macOS, ext4 for many Linux installs. Enter your product key or skip for digital entitlement, create a local user or sign in with your account, and enable full-disk encryption (BitLocker or FileVault) if you want the new owner protected.
For more precision, use diskpart on Windows: open CMD from installer, run “diskpart”, then “list disk”, “select disk 0”, “clean” to wipe partitions before proceeding. On macOS boot to Recovery (Command+R) and use Disk Utility to erase to APFS. For Linux, run “wipefs -a /dev/sda” then create partitions with parted and mkfs.ext4. After install, apply the latest updates and perform a final boot test; this workflow reduces setup headaches for the next owner.
Physical Cleaning of the Device
Cleaning the Exterior
Use a microfiber cloth and 70–90% isopropyl alcohol for persistent smudges, spraying the cloth not the device to avoid moisture ingress. For screens, apply a screen-safe cleaner or a 50/50 distilled water/isopropyl mix and wipe gently; avoid ammonia-based cleaners. Employ canned compressed air for ports and keyboards with short 1–2 second bursts from 2–3 inches away, and use cotton swabs dipped in alcohol for crevices like key edges and speaker grills.
Ensuring All Components Are Accessed
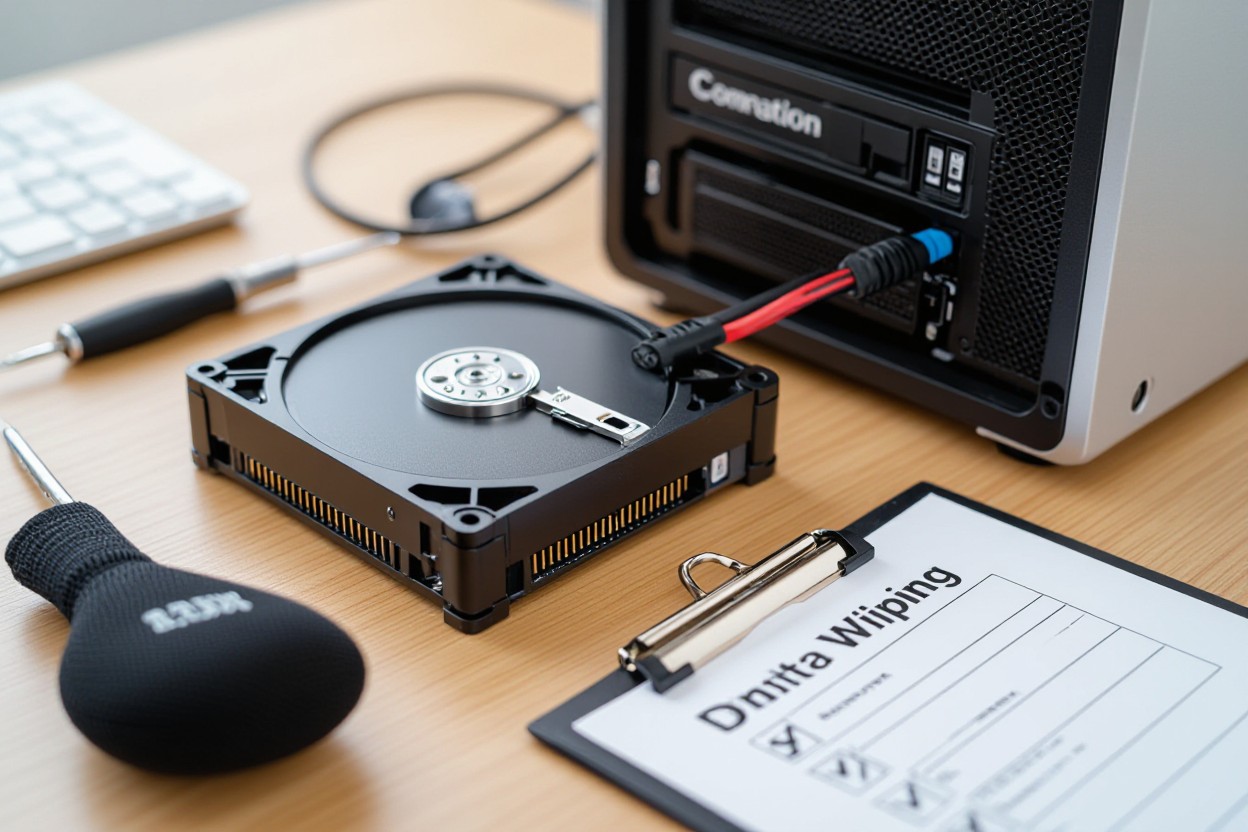
Power down, unplug, and remove any external media, then discharge static by touching grounded metal or using an anti-static wrist strap. For desktops, open the side panel; for laptops, remove the service hatch or back panel using Phillips #0/#1 or T5 Torx depending on model. Label screws in small containers, note connector locations, and consult the manufacturer’s service manual or iFixit guides for model-specific steps.
When accessing internals, remove and inspect RAM, 2.5″/3.5″ HDDs, M.2 NVMe drives (usually held by a single 3 mm screw), optical drives, and the battery or CMOS cell. Use a toothpick to hold fan blades while blasting air to prevent overspin; if you detach the CPU cooler, plan to apply new thermal paste on reassembly. Ultrathin laptops may require heat and plastic pry tools for glued seams proceed slowly and document each step with photos.
Final Steps Before Selling or Recycling
Removing Personal Information
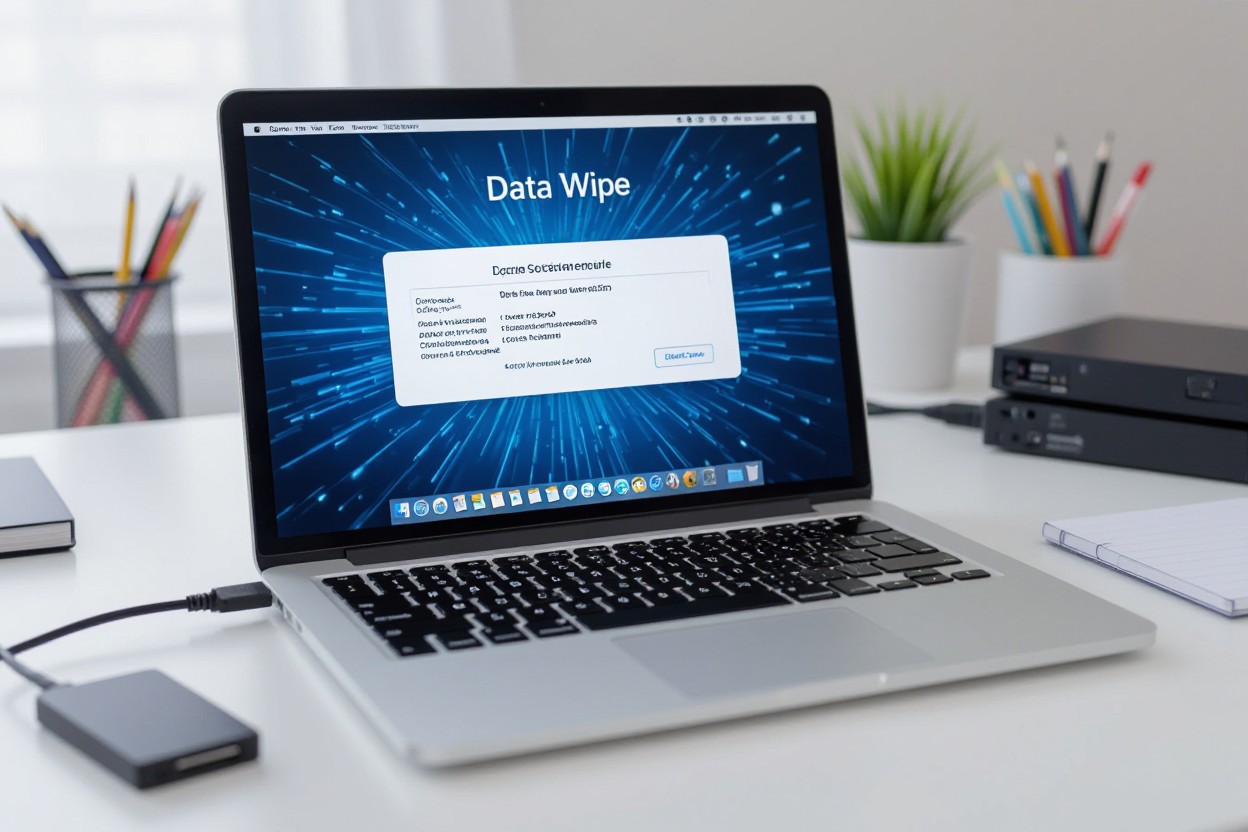
After wiping, sign out of all accounts (Apple ID/Find My, Google, Microsoft), deauthorize app stores and services, remove SIM and SD cards, and clear saved passwords from firmware or browsers. If you used encryption, delete or reset the TPM and any stored keys. Then boot the machine from a clean USB to confirm it lands on a setup screen with no personal files; that final verification is the best proof that your data is gone.
Finding a Reputable Buyer or Service
Get at least three quotes and prefer vendors with R2 or e-Stewards certification; examples include trade-in services (eBay, Gazelle, Best Buy) and certified recyclers. Check for a documented data-wipe guarantee, request insured shipping, and review ratings on Trustpilot or the BBB. Compare net payout after fees, any pickup costs, and turnaround time so you know exactly what you’ll receive.
Ask potential buyers for a certificate of data destruction or chain-of-custody documentation, and confirm whether devices are refurbished, resold, or shredded. For higher-value laptops or phones, choose services that offer insured transit and device-level tracking; corporate vendors often provide logged wipe reports showing method, timestamp, and operator ID, which can protect you if a dispute arises.
Summing up
Hence, before selling or recycling your computer you should back up important files and deauthorize accounts, then securely erase storage using built-in tools or certified wiping software, overwrite drives or perform a factory reset, reinstall the operating system and verify that your data is gone; if data is highly sensitive, remove or physically destroy the drive, and dispose or transfer the device through a reputable recycling or resale channel.
FAQ
Q: What should I do before wiping my computer?
A: Back up all personal data (files, photos, email archives, browser bookmarks, saved passwords) to an external drive or trusted cloud, and verify the backup. Export or note application licenses, serial numbers, and two-factor recovery codes. Sign out and deauthorize accounts and services (Google, Microsoft, iCloud, Adobe, Steam, iTunes/Apple Music) and turn off features like Find My Device. If the drive is encrypted (BitLocker/FileVault), either decrypt it or record the recovery key if you plan to keep the device. Gather OS install media or recovery drives you’ll need to reinstall the operating system for the next owner.
Q: How should I back up data to make sure nothing important is lost?
A: Use a two-step approach: 1) File-level backup: copy documents, photos, and key folders to an external SSD/HDD or a reputable cloud service. 2) Optional full system image if you want an exact snapshot (use Windows Backup/Restore, macOS Time Machine, or third-party imaging tools). Export browser bookmarks and saved passwords, and back up email if stored locally. Verify backups open correctly on another machine. Keep the backups encrypted or stored in a secure location if they contain sensitive information.
Q: What is the safest way to wipe a Windows PC before selling or recycling it?
A: For most users: Windows Settings > Update & Security > Recovery > Reset this PC > Remove everything > Clean the drive (this does a thorough wipe). If you prefer manual methods or have an HDD, boot a trusted wipe tool (DBAN or similar) and run multiple-pass overwrites. For SSDs, use the manufacturer’s secure-erase utility (Samsung Magician, Crucial Storage Executive, etc.) or ATA Secure Erase—overwriting tools designed for HDDs can harm SSD longevity and may not fully sanitize flash. If BitLocker was enabled, decrypt before handing off or provide the recovery key. After wiping, reinstall Windows or leave the device at the setup screen for the next owner.
Q: How do I wipe a Mac properly, including Macs with Apple Silicon or T2 chips?
A: Sign out of Apple ID, disable Find My, and sign out of iMessage and the App Store. On macOS Monterey and later, use System Settings > Erase All Content and Settings for Apple Silicon and T2 Macs—this securely erases user data and restores factory state. For other Macs, boot to Recovery (Command-R), open Disk Utility to erase the internal drive (APFS for SSDs, Mac OS Extended for older HDDs), then reinstall macOS from Recovery. With FileVault enabled, erasing is faster and renders data inaccessible; you can keep FileVault active while erasing to increase security. After reinstall, stop at the setup assistant so the new user can configure the Mac.
Q: How can I verify the wipe worked, and what if I can’t wipe the drive securely?
A: Verify by booting from external media (live USB) and checking the internal drive for user files or accessible partitions. Run a file-recovery tool to confirm no recoverable personal files remain. The drive should show as unallocated or contain only a fresh OS install. If you cannot securely wipe the drive (failed utilities, damaged drive, or persistent sensitive data), remove the drive and keep or physically destroy it (shredding, degaussing for magnetic media, or professional destruction services) before recycling the rest of the device. Keep documentation of the wipe or destruction if needed for compliance or proof to a buyer.