

With this guide, you’ll learn fast, reliable methods to capture screenshots on Windows and Mac so you can save, annotate, and share your screen content effortlessly; step-by-step instructions, keyboard shortcuts, and built-in tools are explained so you can choose the right approach for any task.
Understanding Screenshots
As you work across apps, screenshots capture exactly what’s on your display as a pixel-perfect image, preserving layout, text and on-screen menus. They’re stored in formats like PNG (lossless) or JPEG (smaller), and OS shortcuts—PrtScn/Win+Shift+S on Windows, Cmd+Shift+3/4 on Mac—let you save to clipboard or file instantly. Use them to document bugs, create guides, or archive receipts with timestamps and URL bars intact.
What is a Screenshot?
A screenshot is a static image of your screen or a selected area that freezes what you see, including windows, tooltips and cursor in some tools. It preserves pixel dimensions and UI state, so you can inspect layout issues or share exact error messages. PNG is best when you need crisp text and transparency; JPEG reduces file size for photo-like content, helping when you email multiple captures.
Common Uses of Screenshots
You’ll use screenshots for tech support, step‑by‑step tutorials, proof of transactions, UX reviews, and social sharing—each use needs different handling. For support, include the error code and URL; for tutorials, annotate steps with arrows and short captions; for legal or finance records, crop to show timestamps and account details. Tools like Snagit or built‑in editors speed annotation and redaction.
For deeper efficiency, adopt conventions: name files with date and short description (e.g., 2025-10-21_bug-404.png), keep screenshots under 1–2 MB by cropping or using JPEG when appropriate, and use cloud links for large sets. Teams often create folders per project and require annotated screenshots for QA, which reduces ambiguity and accelerates fixes.
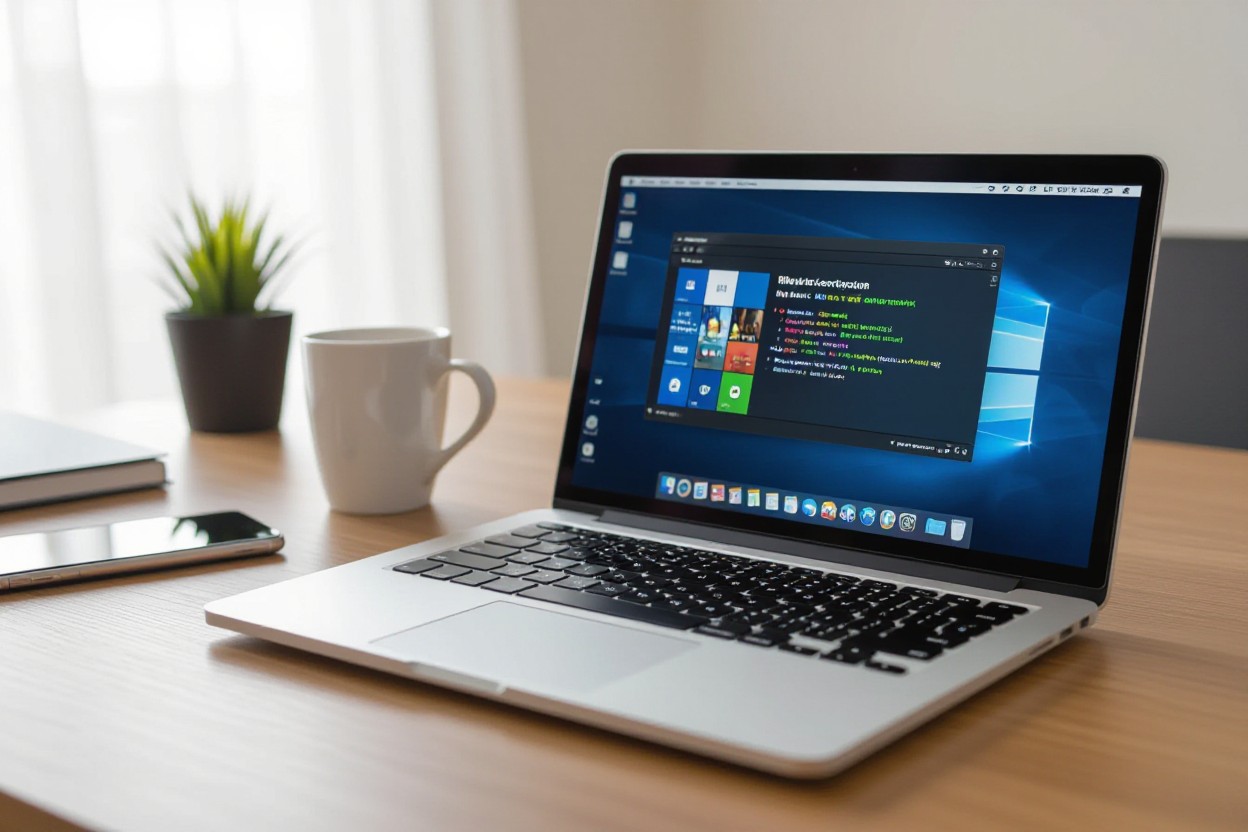
How Do I Take a Screenshot on My Computer
You can capture screens several ways: press PrtScn to copy the full screen to the clipboard, Alt+PrtScn to grab the active window, or press Win+Shift+S to open the Snip & Sketch tool and choose rectangular, freeform, window, or full-screen snips; using Win+PrtScn auto-saves a PNG to Pictures\Screenshots on Windows 8/10/11, and the Game Bar (Win+G) handles game captures and recordings.
Built-in Tools for Windows
Windows bundles Snipping Tool/Snip & Sketch (merged in Windows 11) for quick edits and annotations; after Win+Shift+S your selection is copied to the clipboard and opens in the app for markup, while Print Screen and Alt+Print Screen offer instant clipboard or file saves—Game Bar stores captures in Videos\Captures and is optimized for full-screen games.
Third-Party Screenshot Tools
Several third-party apps extend functionality: Snagit (paid, about $50) adds advanced editing, video capture and scrolling screenshots; ShareX (free, open-source) offers GIF recording, automated uploads, and 20+ destinations; Greenshot and Lightshot (both free) focus on fast annotations and quick sharing to Imgur or clipboard.
Choose based on use: if you create tutorials or need callouts and video, Snagit’s editor and timed capture are ideal; for automation, hotkey profiles, and cloud workflows, ShareX excels with custom actions and many export formats (PNG, JPG, GIF); Greenshot is lightweight for annotated screenshots, while Lightshot offers one-click upload and simple editing—most tools let you customize hotkeys, output folders, and file formats to fit your workflow.
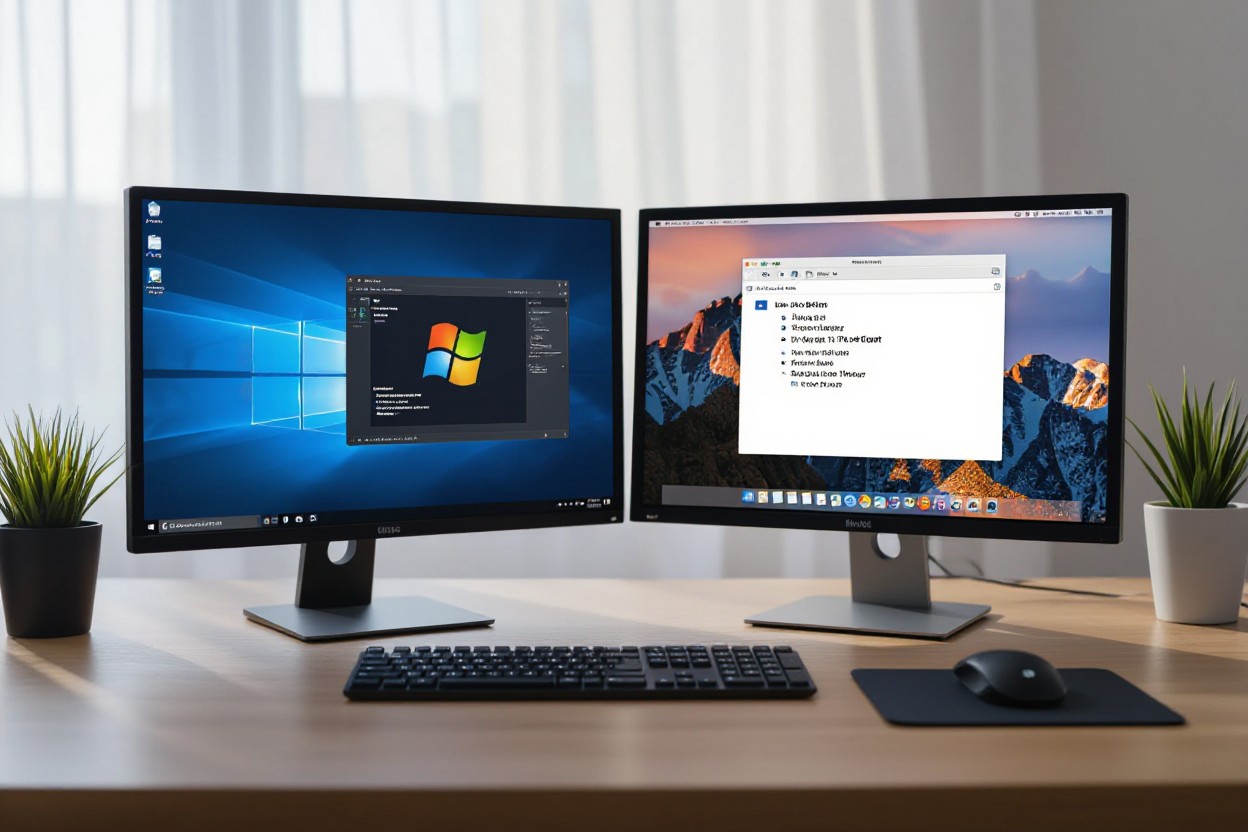
Taking Screenshot on Mac
You can capture the whole screen with Cmd+Shift+3, a selection with Cmd+Shift+4, or open the Screenshot app with Cmd+Shift+5 for timed captures, window snaps, and screen recording. If you have a Touch Bar, Cmd+Shift+6 captures it. Files default to your Desktop as PNGs; use Options in the Screenshot app to change save location, copy to clipboard, or enable the floating thumbnail for quick markup.
Built-in Tools for Mac
Use the Screenshot utility (added in macOS Mojave 10.14) for on-screen controls, timers, and recordings, while Preview offers File > Take Screenshot plus robust Markup tools for annotations, text, and shapes. You can save to Desktop, Documents, Clipboard, or Mail, and floating thumbnails let you annotate without opening another app. Shortcut combos also let you copy captures directly to the clipboard for fast pasting into messages or documents.
Using Third-Party Applications
Third-party tools add scrolling capture, advanced annotation, GIF/video recording, OCR, and cloud sharing. Examples include Snagit (great for tutorials and staged edits), CleanShot X (scroll capture, hide desktop icons, instant links), Lightshot and Greenshot for lightweight free use, and Monosnap for cloud/FTP uploads. Paid options generally range from about $20–$65, with trials or basic free tiers available for testing.
Choose an app based on your workflow: if you produce tutorials, Snagit’s combined screenshot/video editor and 4K-friendly capture is ideal; if you need fast private sharing, CleanShot X’s cloud and link-expiry features help. Verify integrations (Slack, Google Drive, Notion), OCR quality, hotkey customization, and whether images are stored locally or in the cloud, since that impacts privacy and compliance for work accounts.
Advanced Screenshot Techniques
You can speed up workflows by combining timed captures, full-page stitching, OCR, and automated uploads; for example, using Snagit to stitch 5+ screenshots or ShareX to auto-upload and copy a short URL can cut documentation time by 30–50%. Use platform shortcuts—Windows+Shift+S, macOS Shift-Command-5—and pick PNG for UI, JPG for photos to balance quality and file size.
- Timed/menu capture: set a 3–5 second delay to grab dropdowns or right-click menus.
- Scrolling/full-page capture: use browser extensions or Snagit to stitch long webpages or chat logs.
- Multi-monitor capture: grab one screen or all displays with a single shortcut and auto-split files.
- OCR/text extraction: run a screenshot through OneNote, Google Lens, or ShareX to extract selectable text in seconds.
- Auto-upload and short links: configure ShareX, Droplr, or cloud folders to generate shareable URLs instantly.
- Batch capture and naming: use incremental filenames, timestamps, or templates to organize dozens of screenshots fast.
Advanced Techniques Overview
| Technique | Shortcut / Tool |
|---|---|
| Region capture | Windows+Shift+S / Cmd+Shift+4 |
| Full-screen / Multi-monitor | Print Screen / Third-party tools (Greenshot, ShareX) |
| Scrolling / Stitching | Snagit / Browser extensions (Full Page Screen Capture) |
| OCR | OneNote, Google Lens, ShareX OCR |
| Auto-upload & sharing | ShareX, Droplr, Dropbox, Google Drive |
| Annotation & editing | Snip & Sketch, Preview, Skitch |
Editing and Annotating Screenshots
You should crop tightly, blur sensitive data, add arrows and numbered callouts, and keep annotations legible at small sizes; for instance, use a 16px font for labels, 2–4px lines for arrows, and 80% opacity for blurs. Tools like Snip & Sketch, Preview, and Skitch let you annotate quickly, while Snagit offers templates and reusable stamps for consistent documentation across 50+ screenshots per project.
Sharing Screenshots Efficiently
You can streamline handoffs by auto-uploading screenshots to cloud storage or a service that copies a short link to your clipboard; ShareX and Droplr typically generate links under 30 characters, and integrating with Slack or Teams saves about 15–25 minutes daily for active teams. Pick PNG for UI clarity or JPG under 200 KB for faster loads in chat.
For added control, implement naming conventions like project_task_20251021_001, attach brief alt text for accessibility, and choose link settings (public, team-only, or password-protected). Also enforce retention policies and audit logs when sharing sensitive images—many enterprise tools offer 90-day default retention and SSO integration to meet compliance requirements.
Troubleshooting Screenshot Issues
If screenshots fail, narrow causes to three areas: key conflicts, app/OS settings, and background utilities (OneDrive, Dropbox, or GPU overlays). You can test by toggling OneDrive’s screenshot sync, disabling NVIDIA/AMD overlays, or using the Windows Snip & Sketch app. For quick guidance see How do you take screenshots on your computer? and try both keyboard shortcuts and built-in tools to isolate the problem.
Common Problems and Solutions
If PrtScn only copies to clipboard, press Win+PrtScn to save to Pictures\Screenshots (Windows) or add Control on Mac (Ctrl+Cmd+Shift+4) to copy. You may see blank captures when GPU acceleration interferes—disable browser/hardware acceleration or overlays. Snipping Tool errors often resolve by reinstalling via Optional Features (Windows 10/11) or resetting the app. For persistent driver issues, update graphics drivers to the latest WHQL-certified release.
Tips for Optimizing Screenshot Quality
Use PNG for sharp, lossless images and JPEG only for photos to reduce size (PNG often 2–5x larger). Keep display scaling at 100% or use tool-aware scaling on high-DPI displays to avoid blurriness; macOS Retina captures at native 2× pixel density automatically. When you need crisp UI details, zoom to 100–125% before capture or use a dedicated tool that supports DPI-aware screenshots.
- Save as PNG to preserve text clarity and transparency.
- Disable in-game/driver overlays that inject compression or frames.
- Thou test captures on both internal and external monitors (e.g., 1920×1080 vs 4K) to compare sharpness.
For more control, use a tool that lets you set export DPI and format: set 300 DPI for print, 72–96 DPI for web. You can batch-convert screenshots to WebP to cut file size by ~30–60% with minimal quality loss. If you capture video frames, extract at source resolution instead of resizing—this preserves UI pixels and prevents interpolation artifacts when you need pixel-perfect examples.
- Set export DPI to match your target (300 DPI for print, 72 DPI for web).
- Convert large PNGs to WebP for 30–60% smaller files without visible loss.
- Thou validate final images on target devices (mobile, desktop, projector) to confirm legibility.
Summing up
Hence you can master screenshots on Windows and Mac by using keyboard shortcuts, built-in tools, and quick edits to capture, save, and share images efficiently; practice these methods so your workflow is faster, your captures are accurate, and you confidently handle any screen-grab need.
FAQ
Q: How do I take a full-screen screenshot on Windows?
A: Press PrtScn to copy the entire screen to the clipboard and paste into Paint or another app. Press Windows+PrtScn to save the full-screen image automatically to Pictures > Screenshots.
Q: How do I capture only the active window on Windows?
A: Press Alt+PrtScn to copy the currently active window to the clipboard, then paste into an editor. Alternatively use Windows+Shift+S and choose the window snip from the toolbar.
Q: How can I capture a specific area of the screen on Windows?
A: Press Windows+Shift+S to open Snip & Sketch (Snipping Tool), then drag to select the area; the image is copied to the clipboard and a notification appears to annotate or save.
Q: What are the quick screenshot shortcuts on a Mac?
A: Command+Shift+3 captures the full screen (add Control to copy to clipboard instead of saving). Command+Shift+4 lets you select an area; press Space after Command+Shift+4 to capture a window. Command+Shift+5 opens on-screen controls for capture, recording, and location options; Command+Shift+6 captures the Touch Bar.
Q: How do I edit screenshots or change where they’re saved?
A: On Windows, open the screenshot from the Photos app or Snip & Sketch to crop and annotate; move the Screenshots folder or save manually to change location. On Mac, use Command+Shift+5 > Options to pick the save location and timer, and use the floating thumbnail or Preview for quick edits.